Questions I got asked many times on my night photo tours in Budapest:
How do you set up your camera for night pictures? How can you tell what’s a over and what’s underexposed?
How do you even focus?
How do you process the photos?
And of course, I always show my guests the proper ways to obtain great night pictures, and answer as detailed as I can.
But I know that hearing something only once may not be enough.
Many of my guests are emailing me: ‘hey, what were the settings we used?‘
But you know that camera settings are just half of the whole picture: night photos have to be thoroughly edited.
I use Lightroom for that and it makes a world of difference.
Again many people are asking: ‘how do you process the pictures?‘ or ‘can I get your Presets?‘
And I know how many endless hours you can spend in front of the computer, trying to figure out the best settings…
(Please don’t use Photoshop. Honestly, it’s a waste of time! It was designed for something else)
I have good news: editing in Adobe Lightroom is the easiest way to process your pictures FAST.
Lightroom has a lot of sliders, and at first it seems intimidating.
After many years I figured out that which are those settings and sliders that are really relevant. So you can use these and forget about the rest.
And that’s exactly why I started to gather every knowledge of mine into an organized framework.
I built up an online course, in which I deliver all my knowledge about night photography in cities.
I’m obsessed with efficiency and by doing more work with less clicking. And you can be sure that I will not over-complicate things that are simple 🙂
So you can learn at your own pace from camera setups to post-processing.
Announcing Night Cityscape Photography online course
This is a one week long online course where I guide you through night cityscape photography from setting up the camera to advanced post-processing techniques.
You will have lifetime access to the course materials: you can go through it in your own pace. And of course, you can come back anytime.
With this course you will:
- shoot more consciously and know exactly why you should one setting over the another
- get my proven technique to photography night cityscapes
- learn how to process your pictures in Lightroom the easy way
- spend way less time editing and be able to publish more
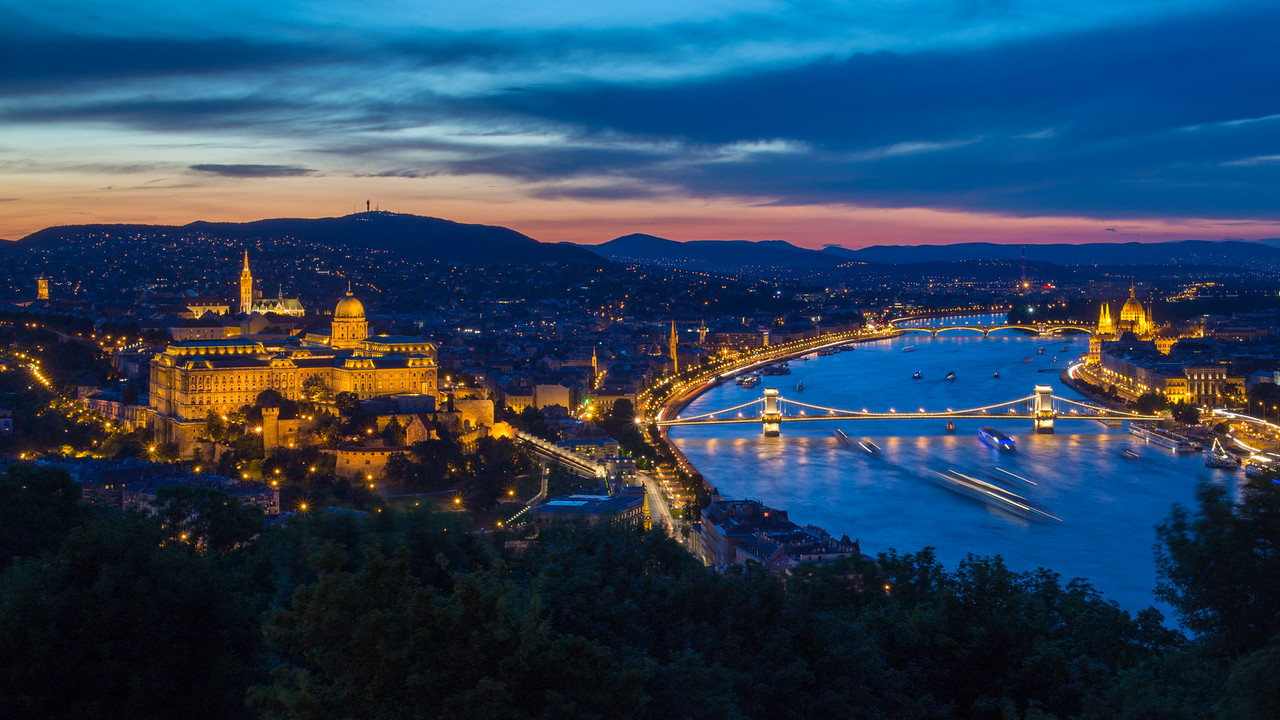
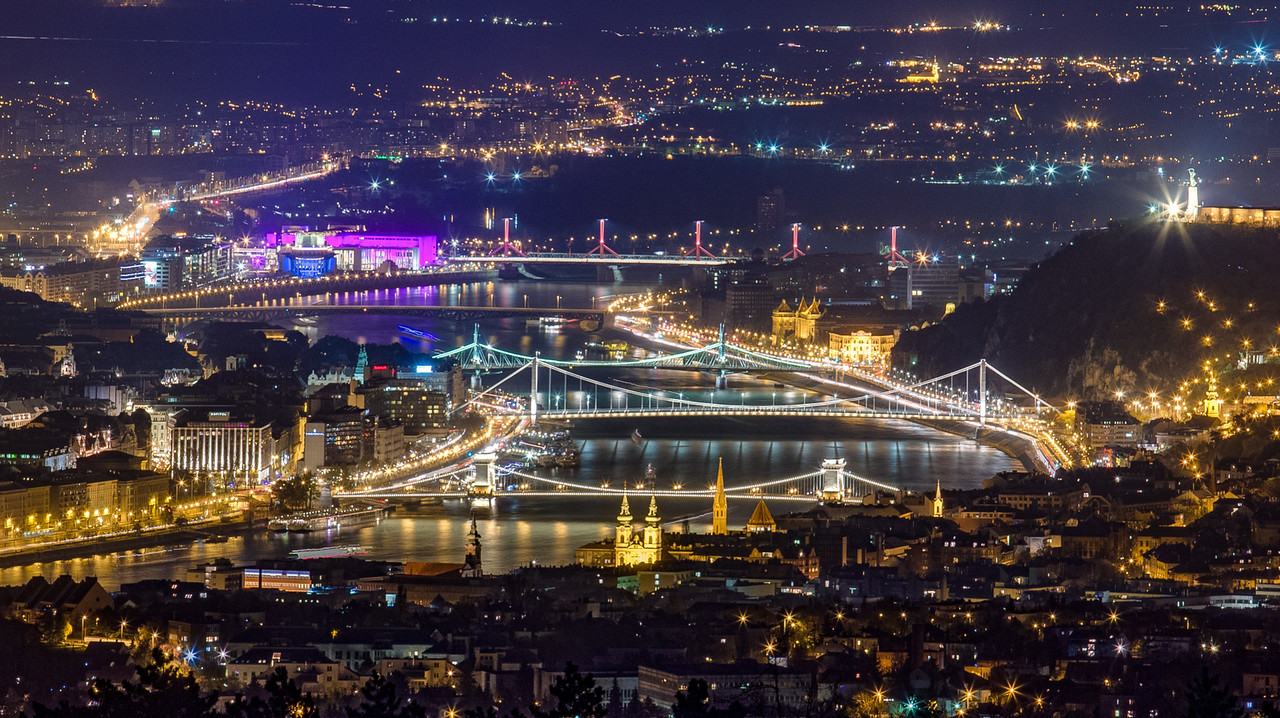
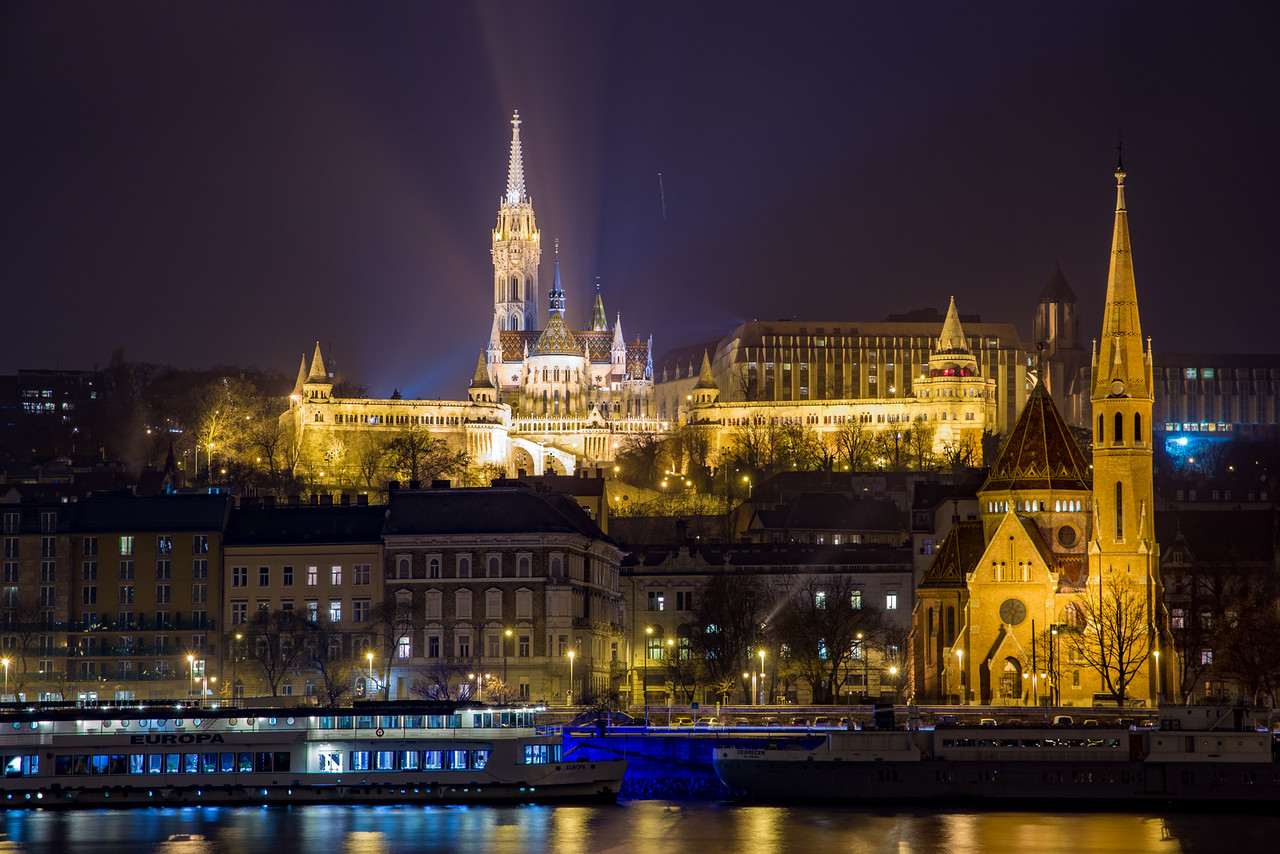
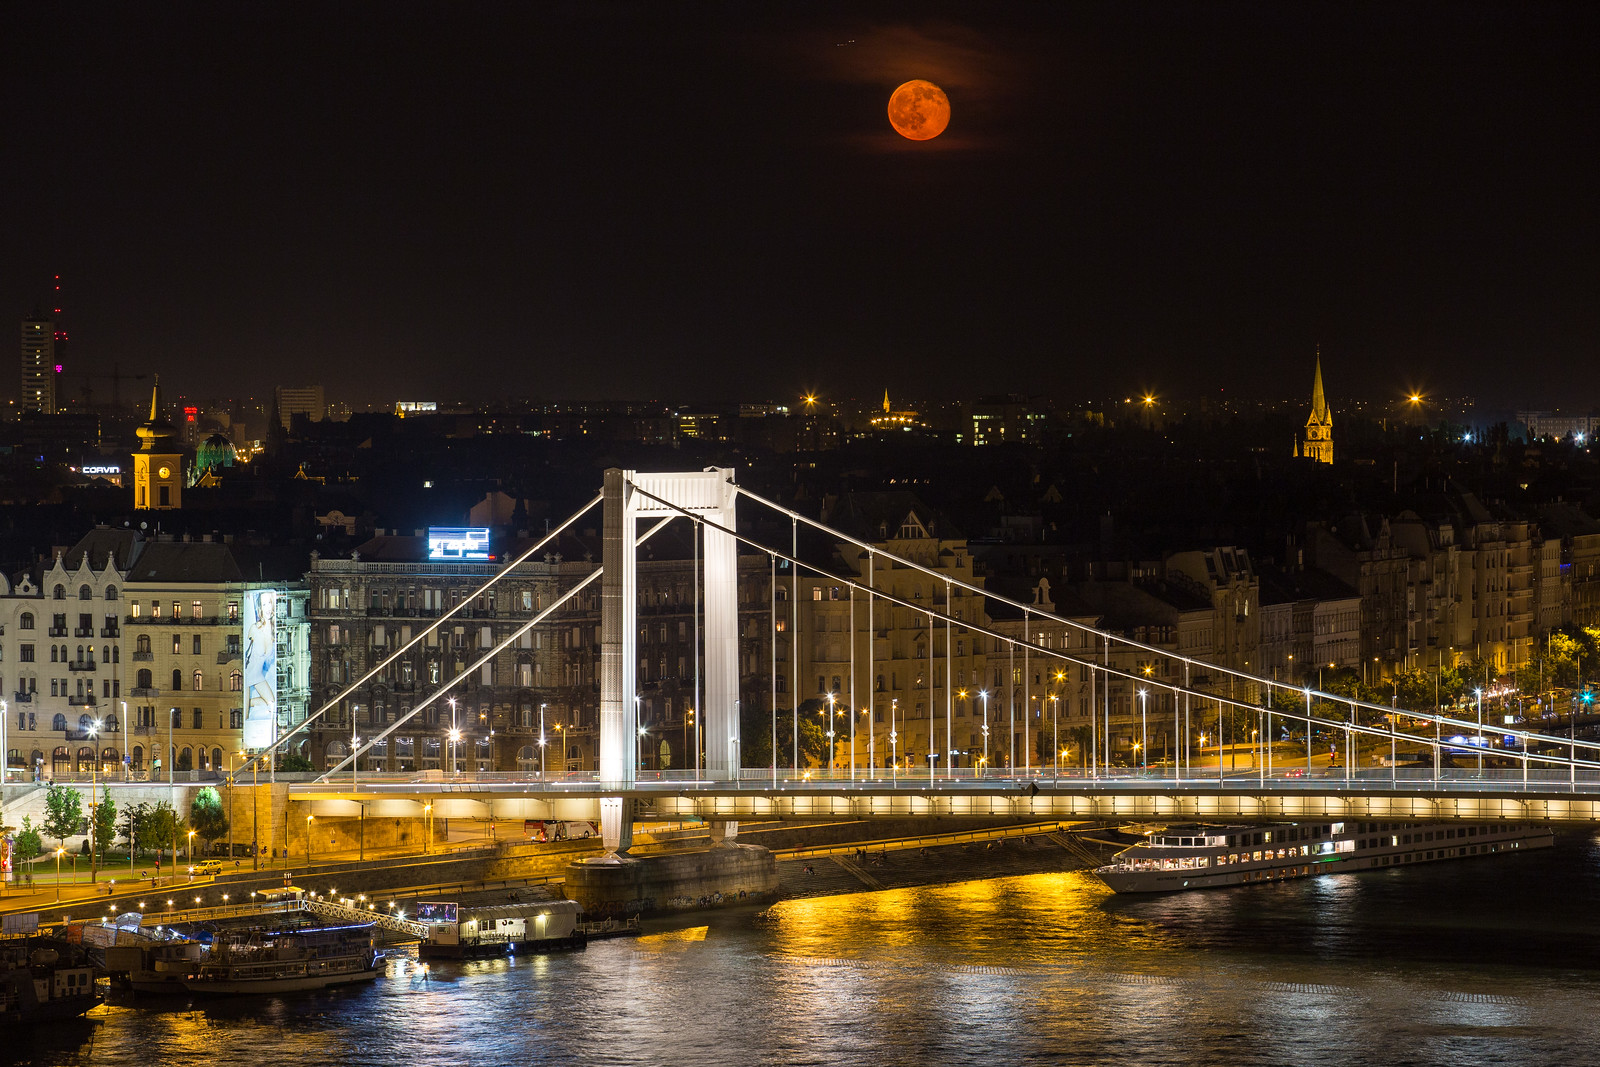
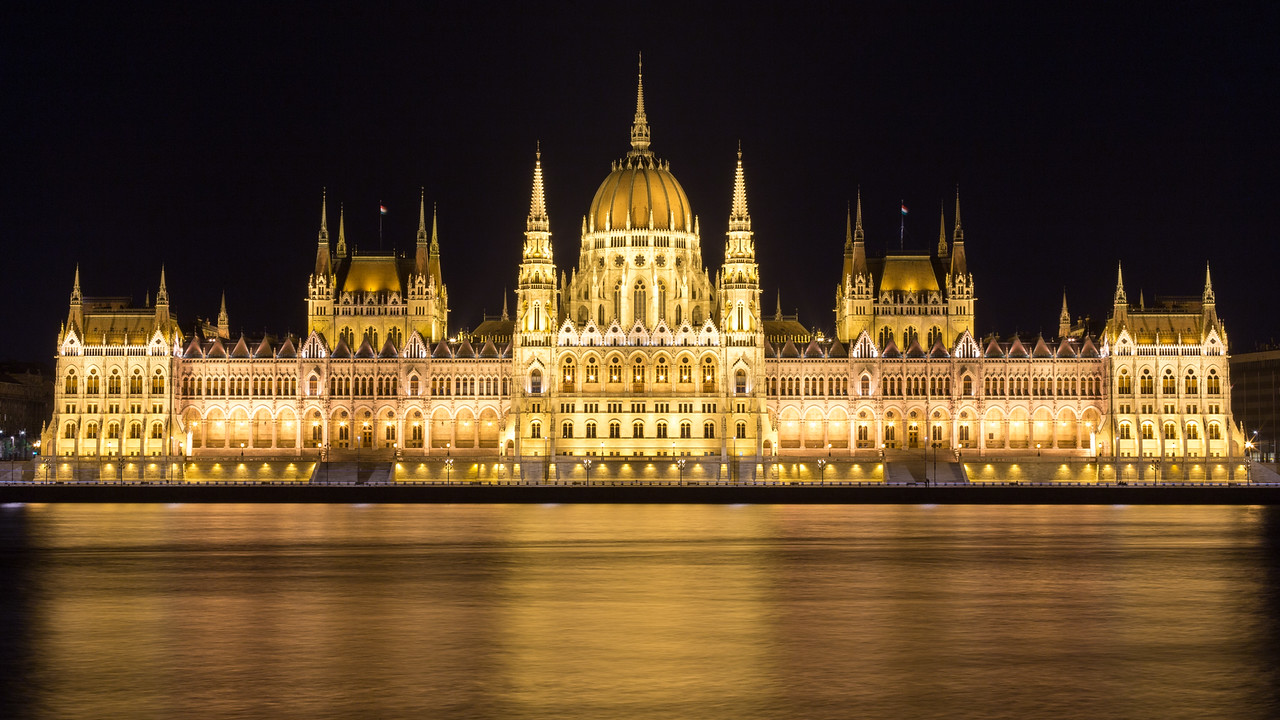
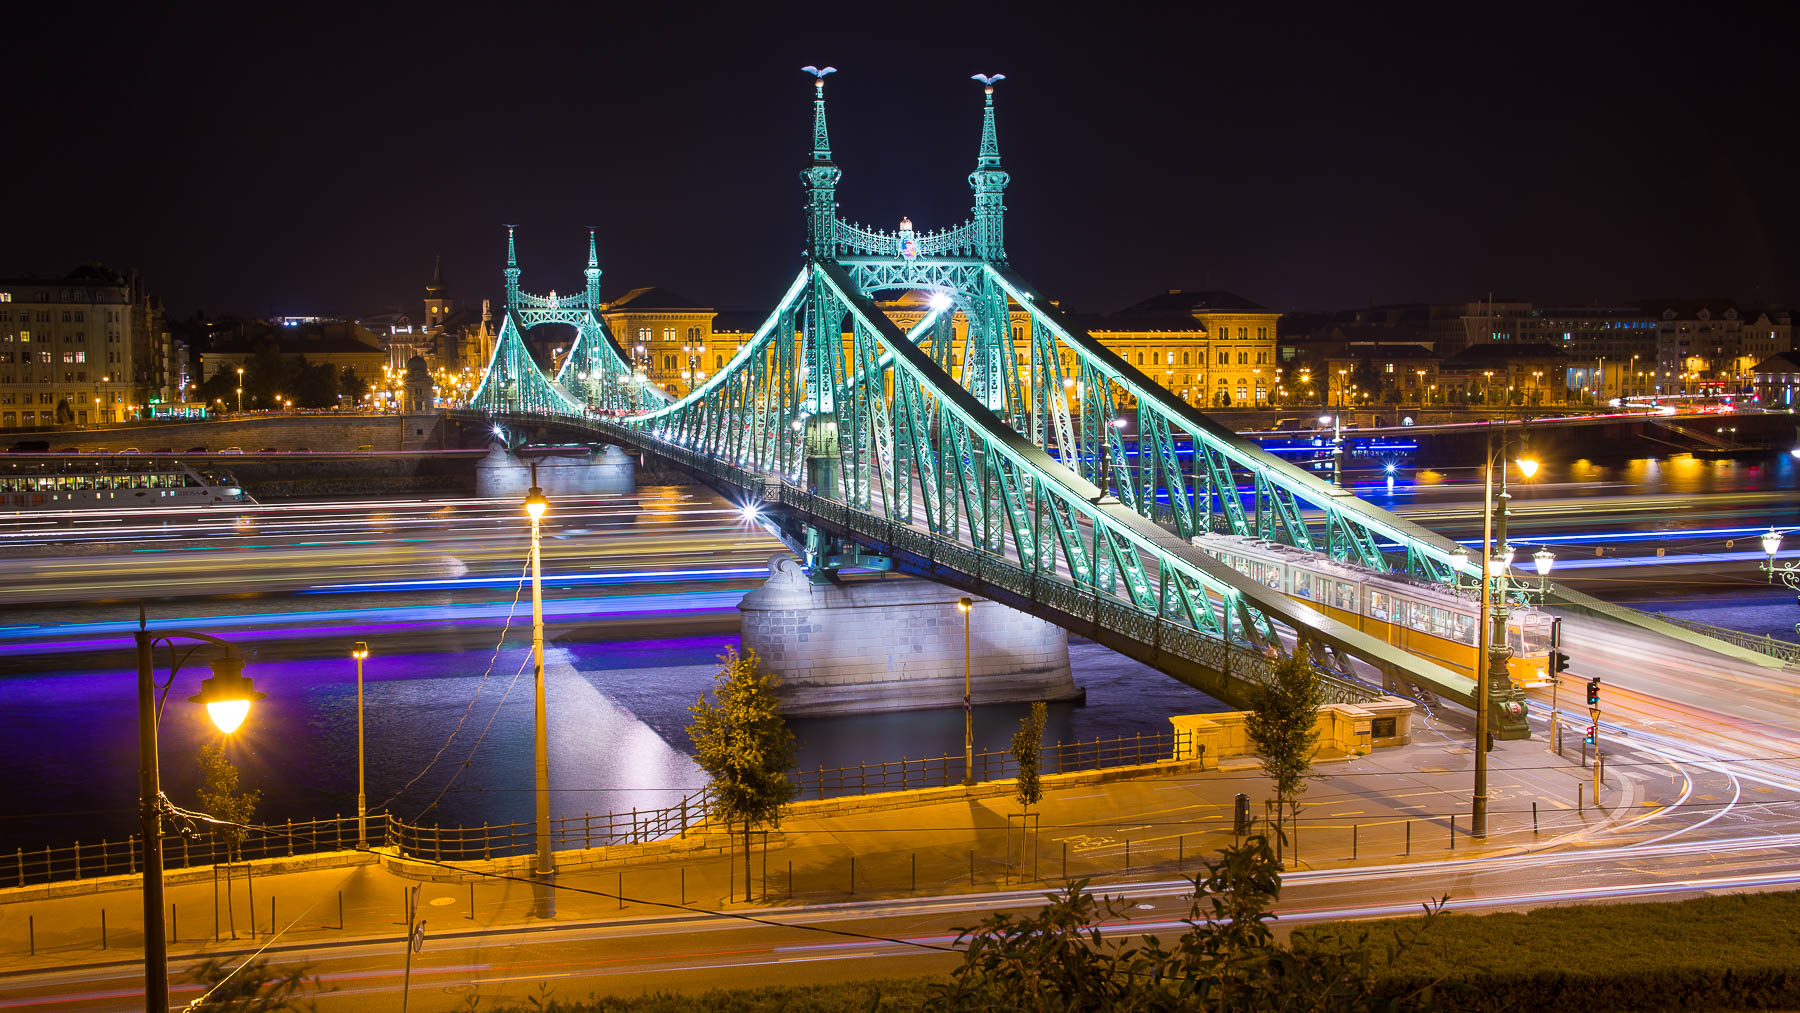
You’ll be able to take pictures like these (of course, these were shot in Budapest, so you must come here, but the techniques can be replicated anywhere):
Why is this course better than other online courses?
I have invested in several online classes (more than I would admit to my family :)), and my problem was always that they are in video only. So every time I have to watch someone talk for 15 minutes several times…
But what if I first want to skim through the lesson, and only then dive into it?
Well, that’s why my courses ALWAYS contain every lesson as text + illustrations, photos! And the videos are just “bonuses”.
So you can find all the information fast, and not being constrained by having to listen to me speaking in the videos.
Of course, there cases when it’s good to see the whole process in one go – that’s why I have videos as well.
Also, to make the learning process enjoyable, I’ve created several quizzes (again with lots of pictures).
AND, the lessons are really “chunked up”: you learn in small chunks, which is more fun and easier.
How the Night Cityscape Photography course is built up
I’ve broken everything down into 3 modules.
Module 1: Photography basics
This is the module that is all about the very basics of photography. This will be especially useful if you often find yourself shooting in ‘Auto‘ mode.
You will learn:
- what aperture is, and what it affects
- what are the aperture values you should not use (people often forget this, then end up with soft photos)
- what ISO speed is, and why we use the lowest value all the time
- why shutter speed (also called exposure time) has a huge effect in landscape photography
- why professionals will tell you to ‘always shoot in RAW’
- what are the differences between a RAW and JPG photo
I’ll also introduce you to my favorite water bucket analogy. This is an analogy that I came up when I tried to explain to my wife how aperture, shutter speed and ISO affect each other.
The analogy is very simple, but I’m sure that everybody can quickly understand exposure.
This module includes:
- 5 lessons with lots of illustrated pictures and text
Module 2: Setting up the camera for night cityscapes
Have you noticed how most people shoot at night? They just crank up the ISO, and try to handhold the shot.
The result?
A high-ISO, therefore noisy photo that is very hard to process. It just looks bad…
Instead, the right way to do it is putting the camera on the tripod, and use very long exposures at low ISO.
This gives the maximum quality, and also lends a very ‘professional’ look to the images.
In this module I’ll introduce you to long exposure photography in cities.
You’ll learn specifically:
- What settings to use on your camera (aperture, shutter speed, ISO)
- How to use Live View mode for an easier shooting experience
- How to focus properly so that your shots always come out sharp
- Does it matter where you focus – you’ll see not so much
- Why not use too narrow apertures (like f/22)
- How to judge if the exposure is correct or not
- Why the Image Stabilizer can actually ruin a picture
- Things that surprisingly don’t matter at all: exposure compensation, metering, white balance, color space
This module includes:
- 1 lesson with video (15:52 minutes long) + illustrated pictures and text
- 1 lesson with lots of illustrated pictures and text
Module 3: Processing in Adobe Lightroom
This is the core part of the whole course.
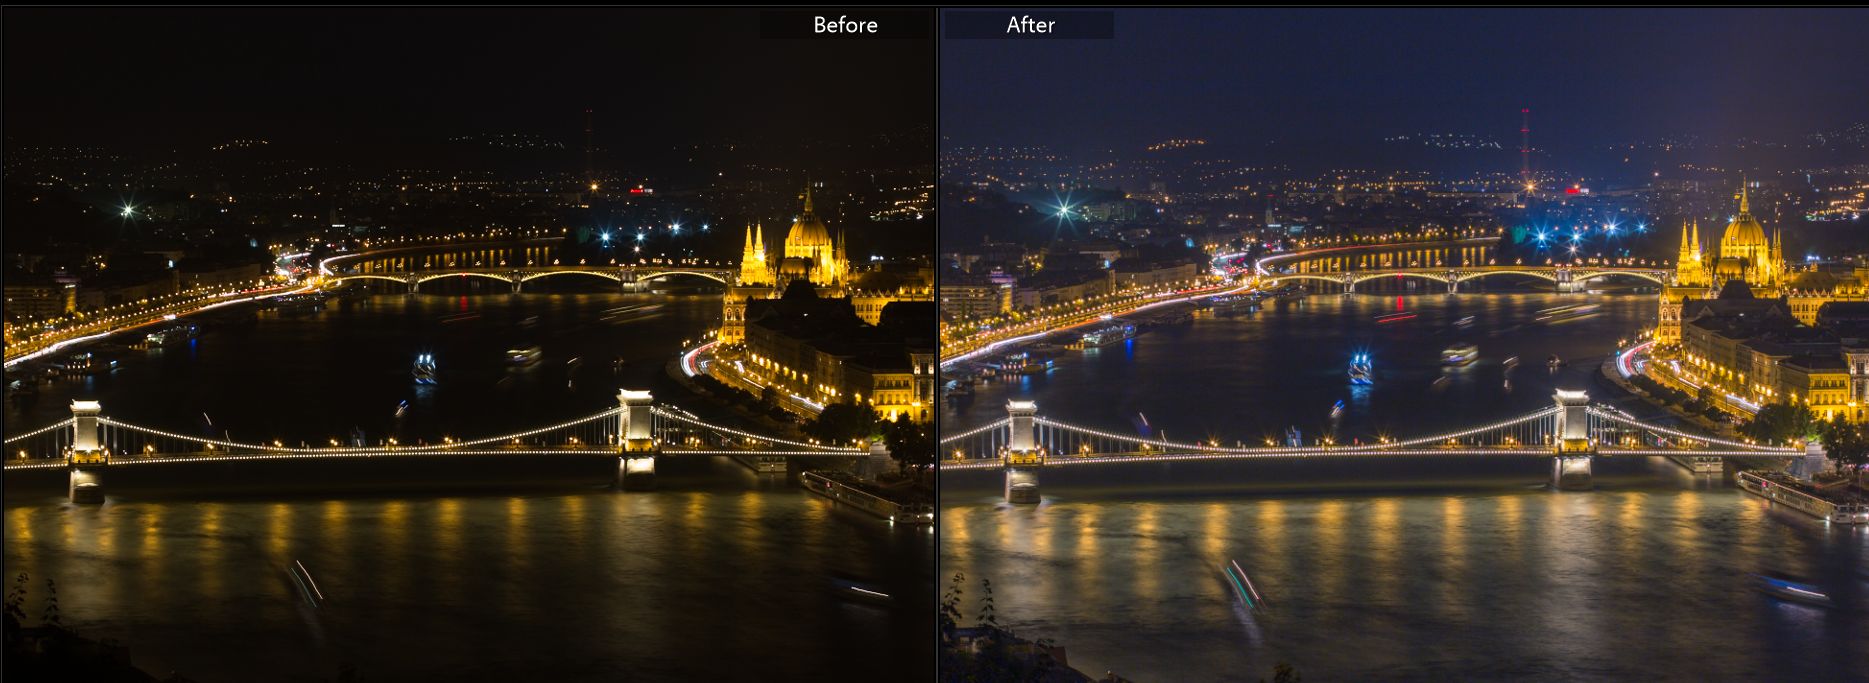
With the huge dynamic range of the digital cameras it’s extremely important to do the post-processing work the RIGHT WAY.
Just look at this before-after shot:
For the post-processing I will show you my workflow using Adobe Lightroom.
Many “pro” will tell you that Photoshop is the only way to go when editing. Well, guess what, I NEVER use Photoshop to edit my pictures! It’s slow and has way too many options if you’d like to do simple things.
Lightroom on the other hand is designed to make editing a bunch of images very easy and effortless. You don’t have to open the pictures one by one, like in Photoshop…
Editing is really like a breeze, once you know your way in here.
Covering in this module:
The basic Lightroom workflow
Lightroom works in a totally different way than most softwares… You don’t open or save a picture here.
You have to import the pictures, and then edit them.
What about saving?
There’s no Save button in Lightroom, because everything you do here is automatically saved. Hooray!!!
Instead there’s the Export panel, which is crucial to get to know if you want your images to rock.
In a 3 videos, each around 15 minutes, I’ll guide you through the basics of Lightroom.
You’ll learn:
- How to import and organize your pictures so that you’ll find them easily even years later
- How to edit a night picture and make it look more natural (we call it ‘extending the dynamic range’)
- At night it’s very hard to judge the best white balance… I’ll help you in that
- How to bring out the most of the night pictures
- How to sharpen in a way that results in minimal noise
- How to export the pictures for print or for social media (so they still remain sharp)
This module includes:
- 3 lessons with video, illustrated pictures and text
The materials in this course include:
Text + loads of illustrated pictures
If you’ve already taken my free Lightroom course, then you know I LOVE illustrated screenshots… They are easy to read and understand.
After all, if you’re searching for one specific answer, why would you have to watch videos?
Videos
Of course the screenshots just show you one section of the workflow at a time.
To be able to see the whole thing I made a video for the key lessons, so you can see the process.
Cheat sheets (PDFs – available in Premium package only)
How to set up the camera at night – Double 16 technique summary
How to set up camera if shooting in JPG only
Bonuses (for premium only)
Bonus Module: Speeding up workflow in Adobe Lightroom
One reason I use Lightroom all the time, is speed. I don’t want to spend my entire life editing the pictures in Photoshop…
I want the best processing to be done in minutes!
So in this module I’ll show you:
- How to save time by using Presets (yes, you can download them)
- How you can edit multiple images with just one click using the Sync Settings function
- How to organize your pictures so they will be easy to find even years later
- How you can filter and search for specific criteria
- How to create Smart Collections that can save you a lot of time
This module includes:
- 2 lessons with video, illustrated pictures and text
Bonus #2: Lightroom Presets PACK

Do you want to spend your valuable time editing every picture one by one in Lightroom and play with the sliders for each pic?
Of course you can do that, but there’s an easy way to eliminate this: using Presets!
Look how fast editing can be (that’s 5 seconds!!!)
You can create Presets for almost everything in Lightroom.
I’ve created Develop Presets for 3 areas, and put them into stacks:
#1 Sharpening
#2 White Balance
#3 Increasing Dynamic range
These presets are specifically for night pictures. They cover the most common fixes that I do when editing.
Bonus #3: Download the RAW files

In the course I show advanced editing techniques on 2 night photos of mine.
If you’d like to copy what I’m doing and have similar results downloading the actual RAW files makes learning easier.
Bonus #4: Cheatsheets for camera settings and Lightroom shortcuts

I’ve created 2 cheatsheets to make your life easier when shooting:
Cheatsheet #1: How to set up the camera at night

This is the excerpt of the video, and will help you anytime doing long exposures.
Cheatsheet #2: How to set up camera if shooting in JPG only

Following the steps in these will help you set up JPG properly, so they will be almost equivalent to edited RAW files
How the course is delivered
This is a 100% online class, meaning you’ll get access to an online platform, where you can view and download all the material.
When you buy the course, you’ll have to pick a username and password, and you can log in with that anytime (the website connection is secured, so your password is safe).
If you already have access to my free Lightroom course, then you’ll be able to use the same account.
You gain lifetime access to the course that never expires!
Even better, I’m constantly adding updates to the course!
Night Cityscape Photography online course packages
| Regular | Premium | ||||
| Module 1. Learn how to set the camera for night cityscapes | |||||
| Module 2. Post-processing workflow in Lightroom | |||||
| Module 3. Advanced editing and organizing in Lightroom | |||||
| Bonuses | |||||
| Speed up working in Lightroom (videos) | – | ||||
| Lightroom Presets pack | – | ||||
| Cheatsheets for camera settings | – | ||||
| Download RAW files | – | ||||
| Price | 130 $ | 147 $ | |||
| Pay by Paypal | Buy now | Buy now | |||
Important: this happens when you click the BUY button
- You will be taken to a page where you can fill in your credit card details (by Paypal). This will be verified instantly. You will then be redirected to login page where you can give the details of your account
- You’ll also receive an email with everything you need to know at that moment
- If something brakes, or you have a problem, just email me.
Questions about the course
‘Is there a guarantee?’
Yes, of course!
If you’re unhappy with the course, just email me within 30 days of buying it, and I will refund you 100%.
‘How is it different to the free Lightroom course I already got from Miklós?‘
Very much different!
That free Lightroom course only includes illustrated screenshots of the basic workflow, while this one includes more advanced techniques explained in 6 videos.
Also there are detailed explanations about camera settings (with video), plus downloadable checklists, and a whole Lightroom Presets pack.
‘Why is it emphasized so much that it’s about cityscapes?‘
In the course we’ll be specifically dealing with taking pictures in cities.
The reason I’m emphasizing this, is that if you want to take Milky Way pictures, than it requires a completely different technique and shooting (not to mention the post-process part).
So for now I’ll be focusing on cityscapes!
‘I don’t have the time right now, but will be able to do it later. Can I enroll now?‘
Sure! That’s the advantage of an online course.
You can enroll now, and do the course anytime later. Or at your own pace.
‘What if I have a question, how do I ask?‘
You can ask questions under every lesson, in the comment section.
Or you can just email me.
Either way, your question will be answered in 24 hours.
‘Which Lightroom version do we use in the course?’
I use Adobe Lightroom CC Classic version, not the CC “only” version.
But the sliders I use for editing are exactly the same in the two versions, so you should be absolutely fine applying what you learn here.
‘I just have a compact camera, but will I need a professional one?’
Not at all.
This kind of shooting (narrow aperture, low ISO, long exposure time) does not require any special camera / lenses.
Even an entry-level DSLR with a kit lens will do!
Moreover, even a compact camera like Sony RX100 will be perfect.
Here’s a picture I took with my Sony RX100:
The only thing you’ll really need besides your camera is a tripod, and that’s it.
This course is for you if:
- you’d like to learn to how to take night pictures in cities
- you haven’t done much night photography yet
- you just started in photography
- you’ve never used Lightroom before
- you’re good with camera settings, but use Photoshop for editing, and want to save time by switching over to Lightroom
Night Cityscape Photography online course packages
| Regular | Premium | ||||
| Module 1. Learn how to set the camera for night cityscapes | |||||
| Module 2. Post-processing workflow in Lightroom | |||||
| Module 3. Advanced editing and organizing in Lightroom | |||||
| Bonuses | |||||
| Speed up working in Lightroom (videos) | – | ||||
| Lightroom Presets pack | – | ||||
| Cheatsheets for camera settings | – | ||||
| Download RAW files | – | ||||
| Price | 130 $ | 147 $ | |||
| Pay by Paypal | Buy now | Buy now | |||
Do you have any questions? Just shoot me an email at fun@hungaryphototours.com
See you inside the course,
Miklos
